Planting Dahlias
Dahlias are amongst the most fascinating flowering plants, not only because of their array of colors and forms but also because of their history and biology. Least to say, at Salt Farm Flowers we love them and are passionate about everything related to dahlias from reproducing them to using them in arrangements and sharing them with you. Below are a few tips from us on planting your tubers, as well as our favorite links for deepening your knowledge. Keep in mind, this is a summary of how we go about planting dahlias here in Trenton, Maine, (in growing zone 5).
A wedding table arrangement filled with dahlias.
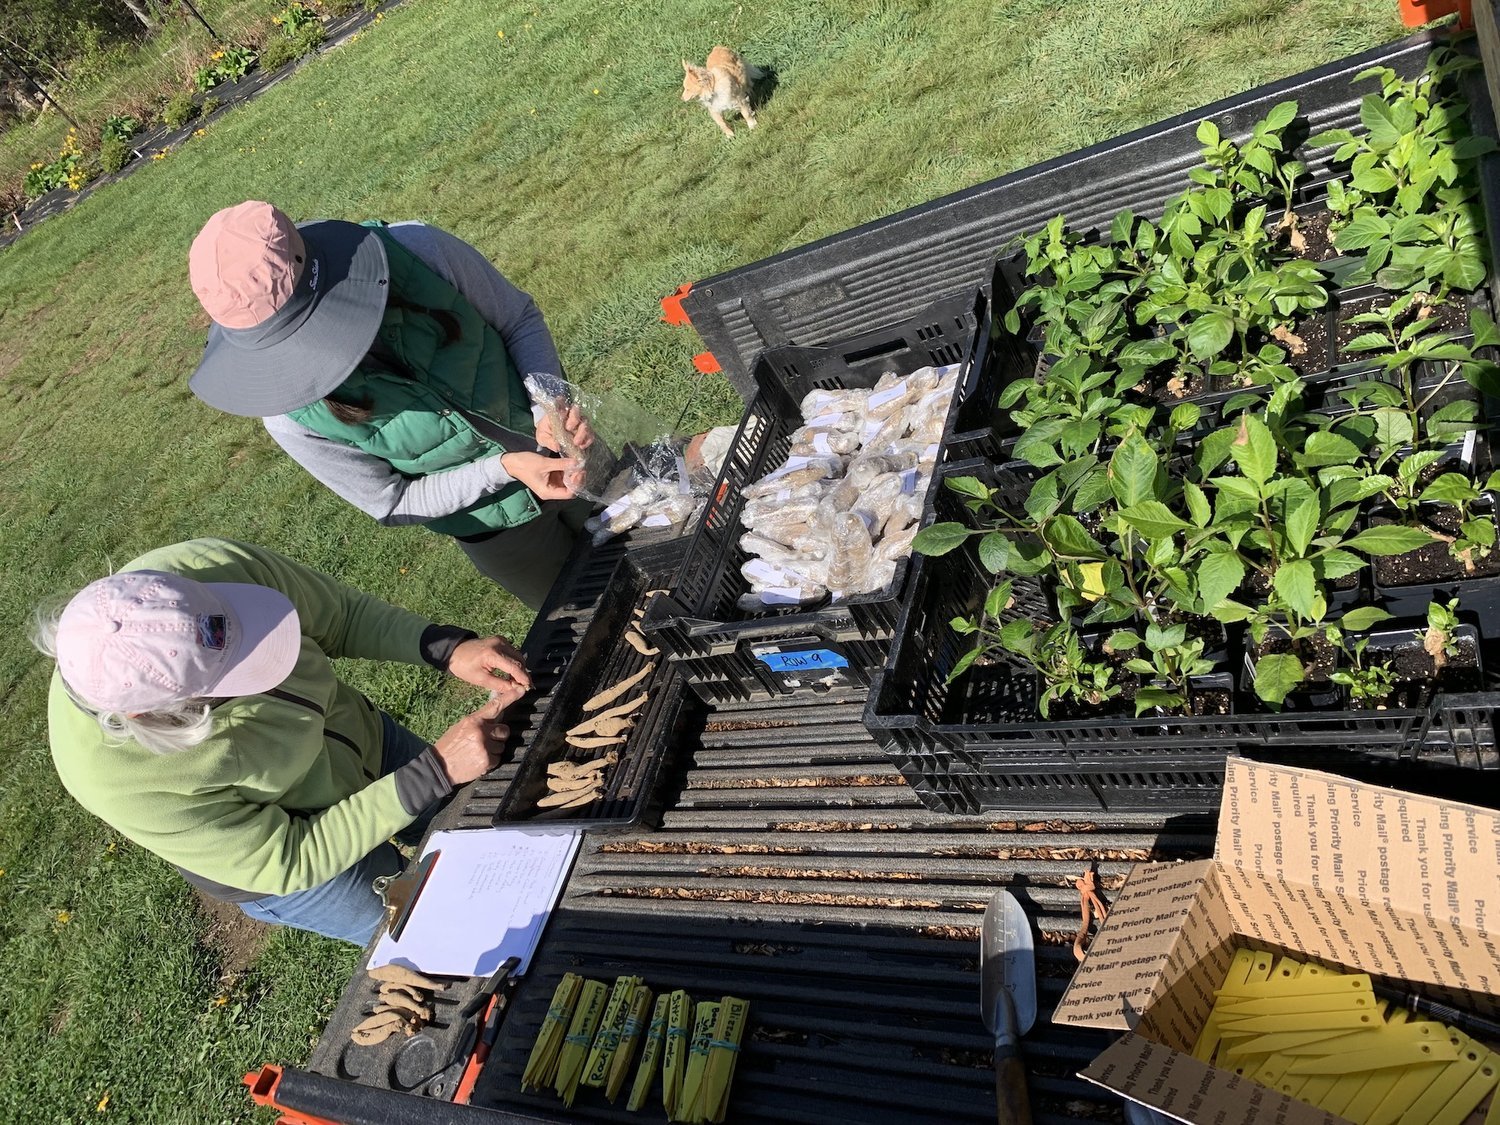
Dahlias are native to the highlands of Mexico and Central America so they appreciate rich soil, temperate cool nights and warm days. They can be perennials where the ground doesn’t freeze but they benefit from digging and division of the tubers. In Maine, where the ground freezes it is important to dig them up at the end of each season—after 120 days of being in the ground, usually somewhere between October and November. Every year we awe at the fact that the one little tuber (referred to as the ‘mother’) can produce so many blossoms within a couple of months and by October the one tuber becomes a mass of daughter tubers, which can go on to become their own plants. Once cleaned and divided, any of the new tubers with viable “eyes” can then be stored and planted the following growing season. Viable new tubers get tightly packed in Saran Wrap and stored in a cold (and dry) basement during our long six months of winter.
In the spring, we check the Zone 5 Frost Free date prediction and we count back two weeks for the date to place tubers in the ground. Before planting, we prepare the soil that has good drainage with compost, mineral amendments and a light sprinkle of North Country Organic Fertilizer. We make sure to plant on a dry day, with little rain on the horizon. Once in the soil, depending on the variety, it takes from one to three weeks for the leaves to poke up through the ground. Because they are very sensitive to frost and wetness, it’s very important to take care of the timing. When planting dahlia tubers outdoors, a long spell of rain can cause the tubers to rot before they have a chance to develop their roots.
STEPS FOR PLANTING DAHLIA TUBERS
Find out your Frost Free Zone date. Count back 2 weeks for your dahlia planting date.
Prepare the ground in a well drained spot that receives full sun. Add compost and a light dusting of a well balanced granular fertilizer.
Dahlias can be dwarf or very tall (up to 7 feet tall!), check the expected height of your varieties before planting. Tall varieties benefit from having a stake close to the main stems for support, particularly during windy spells.
When planting the tubers, place the tuber in the hole in such a fashion that the “neck “ of the tuber gets gently covered by 2-3 inches of soil. In warmer areas you can plant tubers deeper but given our short season, we make sure that the “neck” of the tuber is only 2 to 3 inches below the surface. We like planting our tubers in a slanted position, with the eye facing up, to allow for maximum drainage. Be careful to keep the integrity of the “neck” and “eyes” of the tubers, don’t crack or break the neck. And remember, this one tuber, “the mother” will become a mass of tubers at the end of the season, so be sure to give it at least 18 inches of space all around to develop underground.
Do not water the tuber. This is VERY important. All the tuber needs to start developing roots and shoots is warm soil and the bit of moisture that already exists in the ground. During this stage, the tubers can rot if there is too much moisture in the ground.
After a few days sprinkle some Sluggo or use your favorite slug-snail deterring trick. Slugs and snails love dahlia shoots and they can decimate the first leaves overnight.
Once the dahlia foliage emerges you can safely water them. Be sure to water dahlias well in the summer.
When your dahlias have reached about 4 sets of leaves or 1 foot tall, pinch them back. Removing the top of the stem will help them develop stronger basal stems and will produce more flowers.
Mark your calendar with the day you planted your tubers. Count 120 days and mark your calendar again to remind you of a safe time to dig tubers out of the ground in the fall.
FUN FACTS
Dahlias can be grown in containers but keep in mind that they need wide space to make more tubers underground and will need plenty of water.
Dahlias are edible. These plants are not poisonous. The tubers are edible but not all of them are delicious! Dahlia petals are safe and colorful to eat as long as you grow them without any pesticides. I grew up in the Highlands of Guatemala and one of my favorite things to do as a kid was to drink the water of the thick hollow stems of the wild dahlias growing around trails. However if you ever encounter a rotten tuber you are in for a foul experience! They are stinky when rotten.
Dahlias are octoploids (8 chromosomes) which means that every single seed from the same flower reproduces a unique flower. This makes them very versatile. Over centuries dahlias have been transformed into an enormous variety of dahlias registered today. We are fans of the current particular work of Coseytown, Floret and Santa Cruz dahlias.
Dahlia varieties can only be true to their variety by way of cloning the plant by dividing the tubers or by cuttings. Dahlias grown by the seeds are more like children, each seed produces a unique type. The most common way of preserving a particular dahlia is by dividing the tuber mass with viable “eyes”, a method we have been using at the farm from its very beginning in 2014 and described above. This year, we propagated some varieties via cuttings, which involved potting tubers, taking cuttings as stems grown and then rooting the cuttings to be planted on their own. The photo below shows the formation of tubers amongst a mass of roots from a single tuber that was planted in May and dug up in October. For more information on vegetative propagation see Kristen Albrecht’s YouTube video on the subject.
Dahlia KA’s Cloud
At Salt Farm Flowers, we specifically select dahlia varieties that work well for cut flowers, as they are some of our most popular flowers for weddings, events and grab-and-go bouquets. We have been reproducing and selling our own stock of tubers for more than a decade under the belief that tubers need at least 2 years to adapt to their local conditions. This means, when we test out a new dahlia, we give it two season’s of growth to see if it meets our standards for stem length and color.
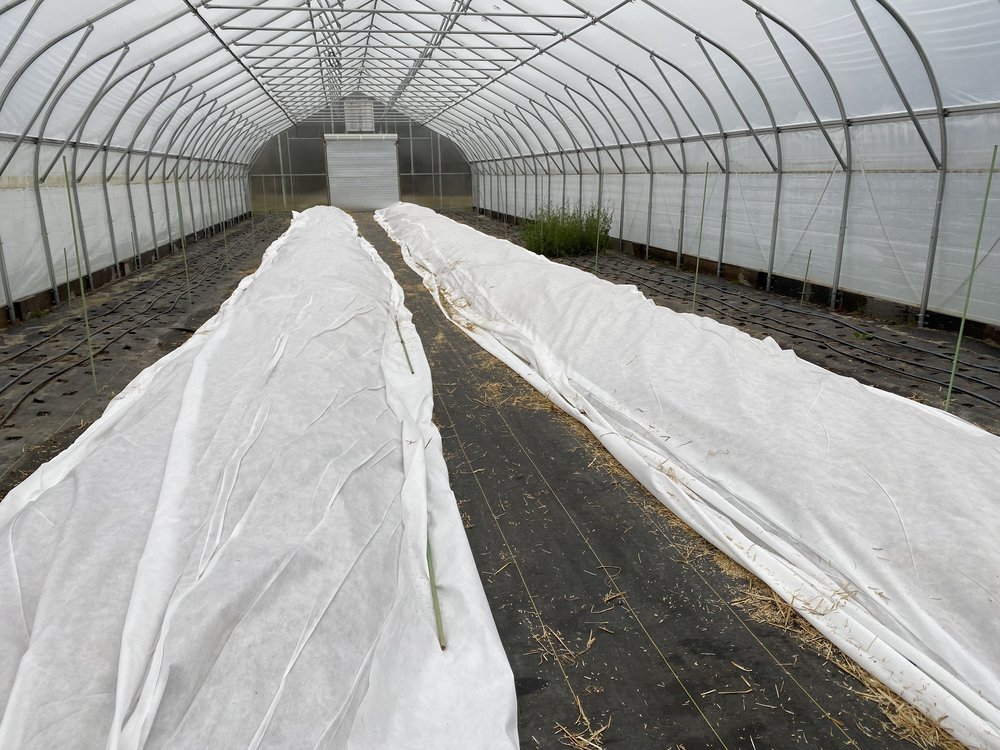
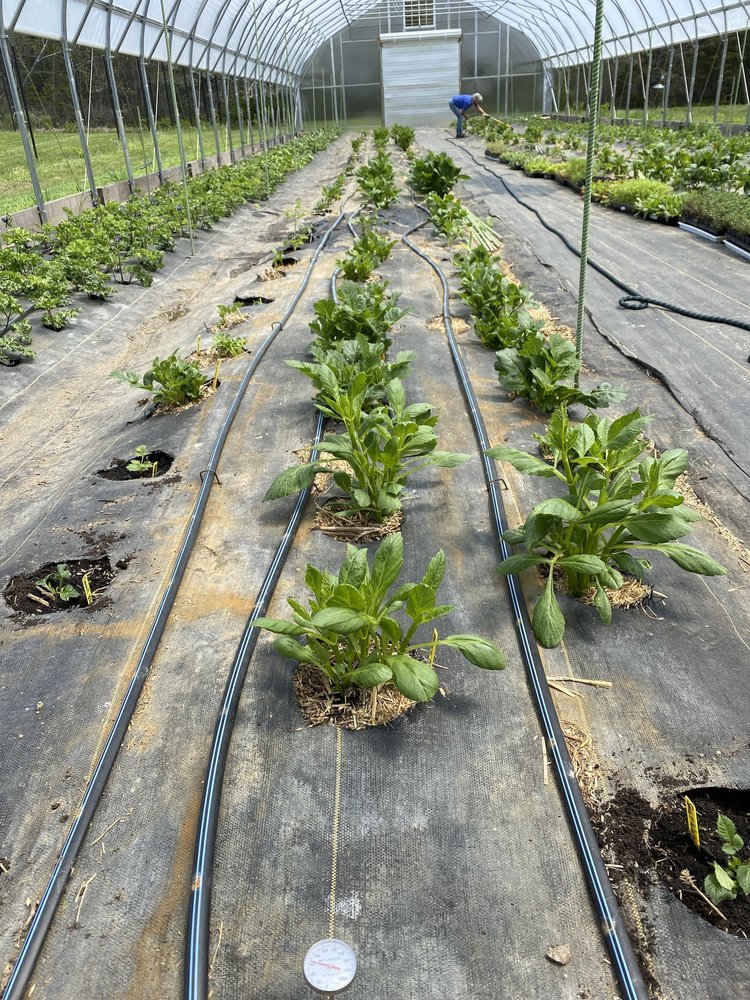
This past winter, we experimented with leaving dahlias underground in an unheated high tunnel, they were cut back and covered with a warm bed of straw and winter fabric. We were happy to discover that for most varieties, this proved successful! The plants that were lost in overwintering were simply replaced with dahlias grown from cuttings, meaning we rarely (if ever) need to buy new tubers, unless we’re trying new varieties.
We look forward to your success in planting your tubers and growing your own dahlias. Be sure to send us photos of your flowers or tag us in your posts on Instagram @saltfarmflowers!
For more information on growing dahlias and dahlias in general check out the New England Garden Society.
OVERWINTERING DAHLIA TUBERS IN THE HIGH TUNNEL
This shows our process of protecting the dahlia tubers over the winter! We start in the fall and the results in the spring are amazing!


